

Crafting these sweet treats offers a wonderfully mindful baking experience that brings pure joy and creativity into your kitchen. Whether you are celebrating a special milestone or simply indulging in a weekend dessert project, these elegant bite-sized creations are certain to delight your senses. 🍭
While forming and dipping these delicate pops might initially seem like a complex task, the entire process is actually a beautiful practice of patience and artistic expression. With just a few basic pantry ingredients, a freshly baked cake, and some smooth melting chocolate, you can easily craft professional-grade treats. 👩🍳
In this detailed guide, we will walk you through a foolproof method for making the perfect cake pop, along with unique flavor combinations that will elevate your dessert game. Get ready to share these beautiful, decadent treats on a stick with the people you love most. ✨
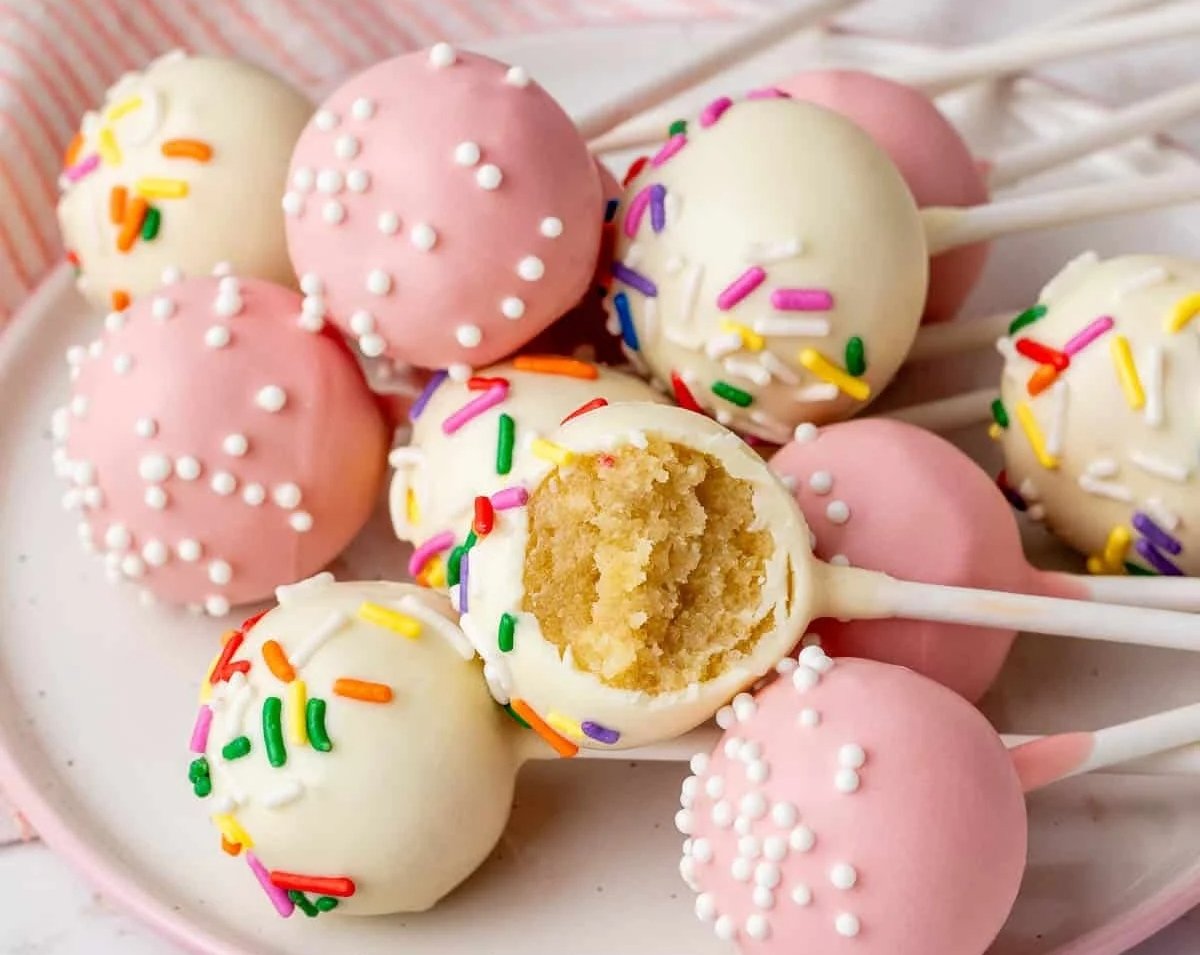
45 minutes
30 minutes
1 hour 15 minutes
Makes about 24-30 cake pops
Ingredients
- 1 box classic vanilla or chocolate cake mix (plus ingredients required on the box: water, oil, and eggs)
- 1/2 cup vanilla or chocolate frosting (homemade or store-bought)
- 16 ounces candy melts or high-quality melting wafers (any color of your choice)
- 1 tablespoon vegetable shortening or coconut oil (to thin the candy melts if needed)
- Assorted sprinkles or nonpareils for decoration
Shopping List
- Baking Aisle: 1 box classic cake mix, 16 ounces candy melts, sprinkles
- Dairy & Eggs: Eggs (as required by cake mix)
- Pantry: Vegetable oil, vegetable shortening or coconut oil, 1 tub of vanilla or chocolate frosting
- Specialty Craft: Lollipop sticks, Styrofoam block
Equipment Needed
- 9×13 inch baking pan
- Large mixing bowl
- Hand mixer or stand mixer
- Baking sheet
- Parchment paper
- Microwave-safe bowl
- Lollipop sticks (approx. 30 count)
- Styrofoam block or cake pop stand
Helpful Tips
- Texture Secret: Always add frosting gradually, starting with about 1/3 cup, to prevent the mixture from becoming too wet and heavy, which causes the cake pops to slip off their sticks.
- Temperature Control: Ensure the rolled cake balls are chilled but not fully frozen before dipping, as a massive temperature contrast between cold cake and warm candy coating will cause the shell to crack.
- Flavor Variation – Chocolate Peanut Butter: Combine rich chocolate cake crumbs with creamy peanut butter frosting, then dip in smooth milk chocolate melts for a classic confectionery pairing.
- Flavor Variation – Lemon Raspberry: Mix zest-filled lemon cake with a small spoonful of seedless raspberry jam instead of traditional frosting, coating the sphere in delicate white chocolate.
- Flavor Variation – Red Velvet Dream: Pair vibrant red velvet cake with luxurious cream cheese frosting, then coat in white chocolate and finish with a dusting of red velvet crumbs.
Step-by-Step Instructions
- Bake the cake according to the package instructions in a 9×13 inch pan and let it cool completely to room temperature.
- Crumble the cooled cake into a large bowl using your hands or a hand mixer until it forms fine crumbs with no large chunks remaining.
- Add 1/2 cup of frosting to the cake crumbs and mix thoroughly with your hands or a spoon until a dough-like consistency forms that holds its shape when squeezed.
- Line a baking sheet with parchment paper. Measure out about 1 tablespoon of dough and roll it into a tight, smooth ball. Repeat with the remaining dough and place the balls on the prepared baking sheet.
- Melt a small handful of candy melts in a microwave-safe bowl in 30-second intervals, stirring in between until completely smooth.
- Dip the tip of each lollipop stick about 1/2 inch into the melted candy, then insert it halfway into a cake ball. Place the baking sheet with the cake pops into the freezer for 15-20 minutes to firm up.
- Melt the remaining candy melts with 1 tablespoon of shortening or coconut oil to achieve a smooth, pourable consistency. Pour the melted candy into a deep, narrow cup.
- Gently dip each chilled cake pop straight down into the melted candy until fully coated. Lift it straight up and gently tap your wrist to let the excess candy drip off.
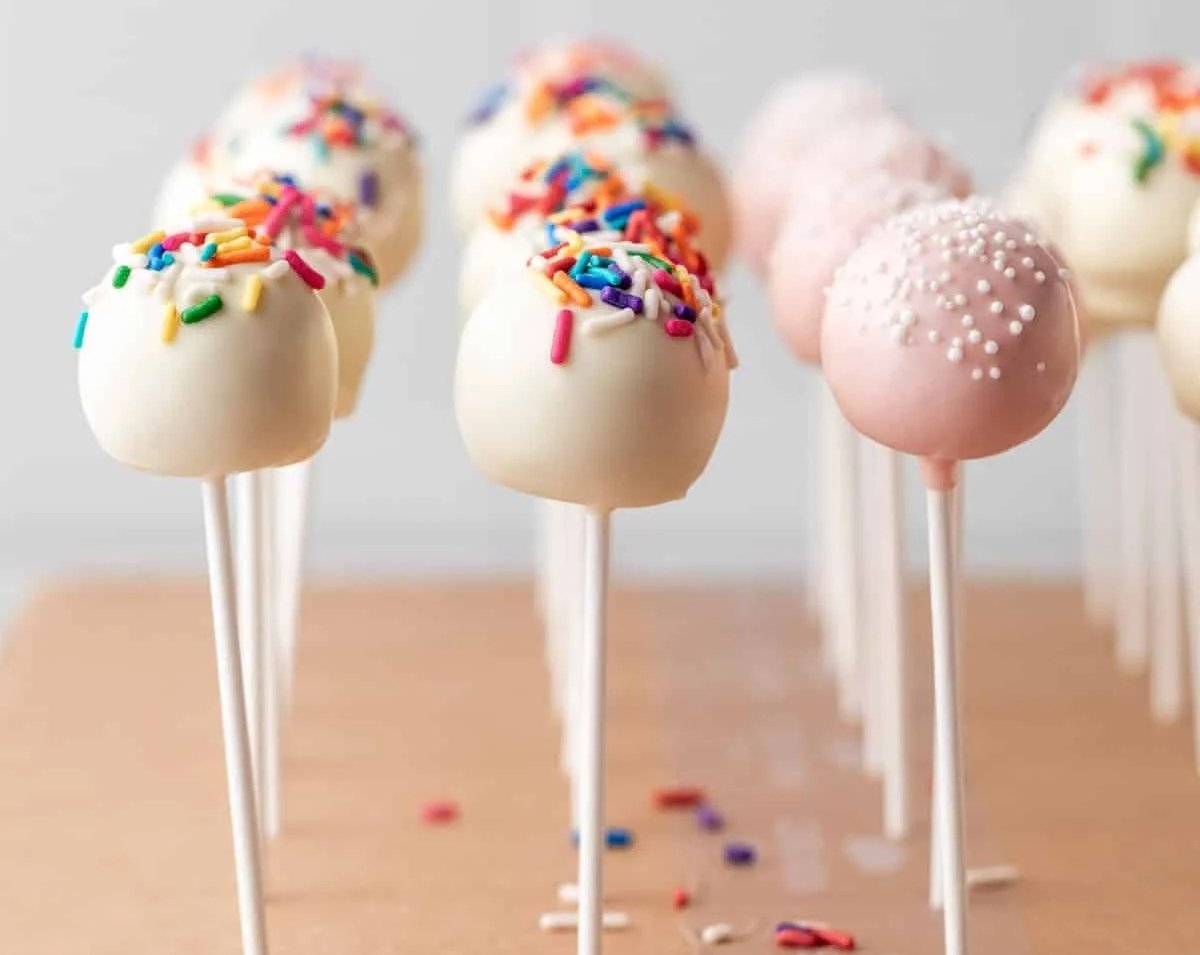
- Immediately add sprinkles while the coating is still wet, then stand the cake pop upright in a Styrofoam block or cake pop stand to dry completely.
Variations & Serving Ideas
Present these elegant cake pops upright by inserting them into a stylish stand, a decorative block, or a glass jar filled with neutral-colored sugar crystals. They make a sophisticated centerpiece for any dessert table or gathering. Store any leftovers in an airtight container in the refrigerator for up to a week, or wrap them carefully to freeze for up to six weeks. For a thoughtful gift, wrap each cake pop in a clear cellophane bag and tie it with an elegant linen ribbon.
We hope you enjoy the peaceful process of baking and decorating these gorgeous treats! We would love to hear which flavor combination resonates most with you, so please share your thoughts and creations in the comments below.